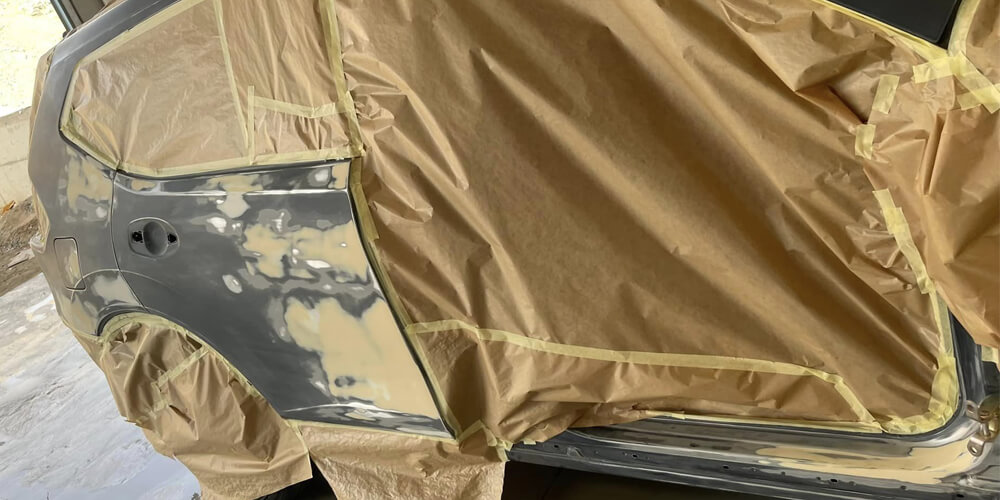
Putty for Car Scratches
Welcome to our in-depth guide on using putty for car scratches. As a leading manufacturer of automotive paint, we understand the importance of addressing scratches effectively to maintain the pristine appearance of vehicles. In this article, we will explore the various aspects of using putty to repair car scratches. Whether you are a car enthusiast or a professional in the automotive industry, this guide will provide valuable insights and tips to help you achieve flawless results.
Understanding Car Scratches:
Before delving into the world of putty, it is essential to grasp the different types and severity of car scratches. From minor surface scratches to deep cuts, each scratch requires a tailored approach for effective repair.
Introduction to Putty for Car Scratches:
Putty is a versatile product used in the automotive industry to fill and repair scratches, dents, and imperfections. It provides a smooth and seamless surface for further painting and finishing. Putty is available in various forms, including polyester putty, epoxy putty, and fiberglass putty, each with its unique properties and applications.
Preparation and Surface Cleaning:
Proper surface preparation is crucial for achieving optimal results. Begin by thoroughly cleaning the scratched area using automotive cleaning agents to remove dirt, grease, and wax. Ensure the surface is dry and free from any contaminants before proceeding with putty application.
Application Techniques for Putty:
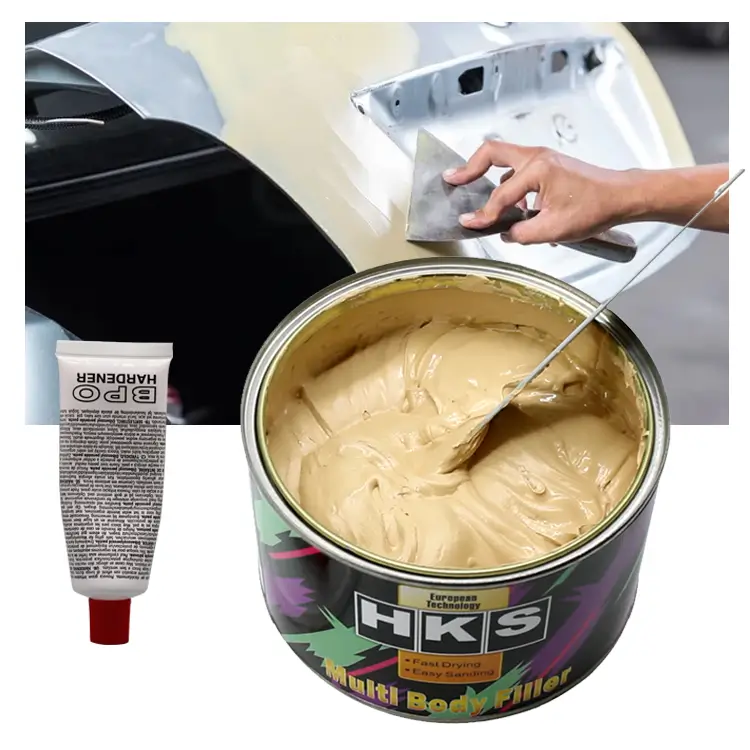
To apply putty, start by mixing it according to the manufacturer's instructions. Use a clean putty knife or applicator to spread the putty evenly over the scratched area. Apply enough putty to fill the scratch but avoid over-applying. Smooth out the putty using the applicator, feathering the edges for a seamless blend.
Sanding and Finishing:
Once the putty has cured, sanding is necessary to achieve a smooth and even surface. Start with a coarse sandpaper grit to level the putty and gradually move to finer grits for a polished finish. Pay attention to blending the edges of the repaired area with the surrounding surface for a seamless appearance.
Paint Application and Blending:
After sanding, it's time to apply paint to the repaired area. Use a high-quality automotive paint that matches the color of your vehicle. Apply thin coats of paint, allowing each coat to dry before applying the next. Feather the paint edges to blend with the surrounding area, ensuring a seamless finish. Finish off with clear coat application for added protection and gloss.
Tips for Successful Putty Application:
·Follow the manufacturer's instructions regarding mixing ratios and curing times for the putty.
·Work in a well-ventilated area and wear protective gloves and a mask when handling putty and paint.
·Use the appropriate tools, such as putty knives and sandpaper, to ensure smooth application and proper blending.
·Take your time and work patiently to achieve precise results.
·Regularly clean and maintain your tools to ensure optimal performance.
Common Mistakes to Avoid:
·Overfilling the scratch with putty, which can result in an uneven surface and additional sanding.
·Neglecting proper surface preparation, leading to poor adhesion and subpar results.
·Rushing the drying and curing process, which can compromise the integrity of the repair.
·Using low-quality or mismatched paint that doesn't blend well with the existing finish.
Conclusion:
Using putty for car scratches is a practical and effective method to restore the appearance of your vehicle. By following the steps outlined in this guide and considering the tips and precautions provided, you can achieve professional-grade results. Remember to choose high-quality putty and automotive paint from trusted manufacturers for the best outcomes. With proper application and attention to detail, you can restore your car's flawless finish and protect its value.

Source of this article:https://www.supersybon.com
Get to know us through more channels:

