Sanding Bondo: A Comprehensive Guide
As a professional automotive body filler manufacturer, we understand the importance of achieving flawless finishes. Bondo, a commonly used body filler, requires meticulous sanding to ensure a smooth surface ready for paint application. In this guide, we will delve into the intricacies of sanding Bondo, covering techniques, tools, and tips to achieve professional-grade results.
Understanding Bondo
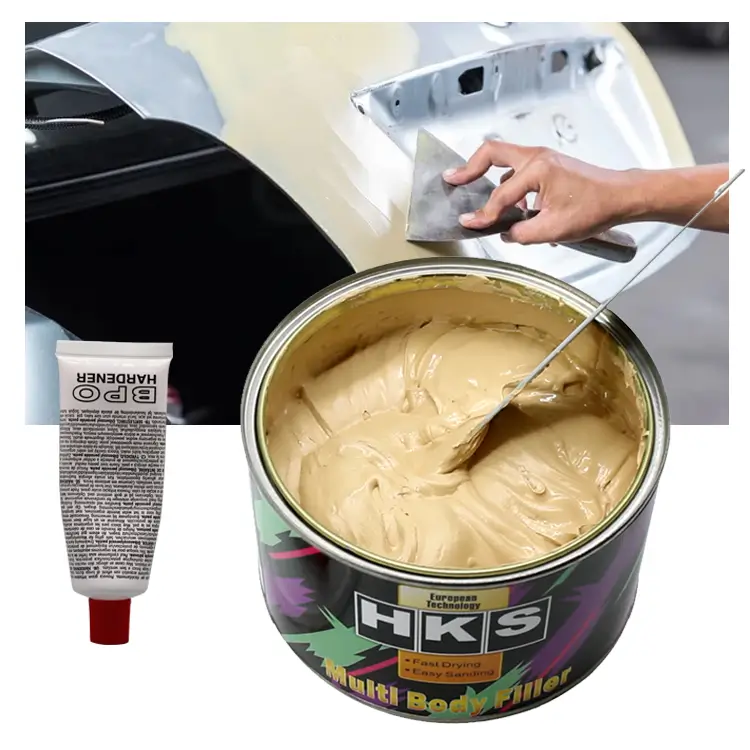
Before diving into sanding techniques, it's crucial to grasp the fundamentals of Bondo. Bondo, formally known as automotive body filler, is a versatile material used to repair dents, dings, and other imperfections in vehicle surfaces. Composed of polyester resin and a hardening agent, Bondo offers excellent adhesion and can be shaped to match the contours of the vehicle.
Preparation
Proper preparation is key to successful Bondo sanding. Begin by cleaning the repaired area thoroughly to remove any dust, grease, or debris. Use a wax and grease remover or mild detergent solution for this purpose. Once the surface is clean, dry it completely before proceeding.
Selecting the Right Tools
Sanding Bondo requires the right tools for the job. Start with a coarse grit sandpaper, around 80 to 120 grit, to shape the filler and remove excess material. Progress to finer grit sandpapers, such as 180 to 320 grit, for smoothing and refining the surface. Additionally, invest in sanding blocks, sanding pads, and a dual-action sander for efficiency and precision.
Sanding Techniques
When sanding Bondo, adopt a systematic approach for optimal results. Begin by feathering the edges of the repaired area to blend it seamlessly with the surrounding surface. Use light pressure and long, even strokes to prevent uneven sanding marks. Work in small sections, checking the progress frequently to avoid over-sanding.
Contouring and Shaping
Achieving a flawless finish often requires contouring and shaping Bondo to match the vehicle's curves and contours. Utilize sanding blocks or flexible sanding pads to maintain uniformity and preserve the desired shape. Take your time during this step, as precision is paramount.
Assessing Surface Quality
Periodically stop sanding to assess the surface quality. Run your hands over the sanded area to detect any imperfections or unevenness. Additionally, inspect the surface under different lighting conditions to identify any flaws that may not be immediately apparent.
Fine-Tuning and Final Sanding
As you near completion, switch to even finer grit sandpapers, such as 400 to 600 grit, for final sanding. Focus on refining the surface and eliminating any remaining scratches or imperfections. Take care not to apply excessive pressure, as this can inadvertently remove too much material.
Cleaning and Preparing for Paint
Once satisfied with the smoothness of the Bondo surface, thoroughly clean the area to remove sanding dust and residue. Use compressed air or a tack cloth to ensure all debris is removed. Finally, apply a primer to the sanded area to promote adhesion and prepare the surface for painting.
Conclusion
Mastering the art of sanding Bondo is essential for achieving professional-quality results in automotive body repair. By understanding the fundamentals, employing the right tools and techniques, and exercising patience and precision, you can transform imperfect surfaces into flawless works of art. With practice and dedication, you'll elevate your craftsmanship to new heights, leaving behind a legacy of excellence in automotive restoration.

Source of this article:https://www.supersybon.com
Get to know us through more channels:


