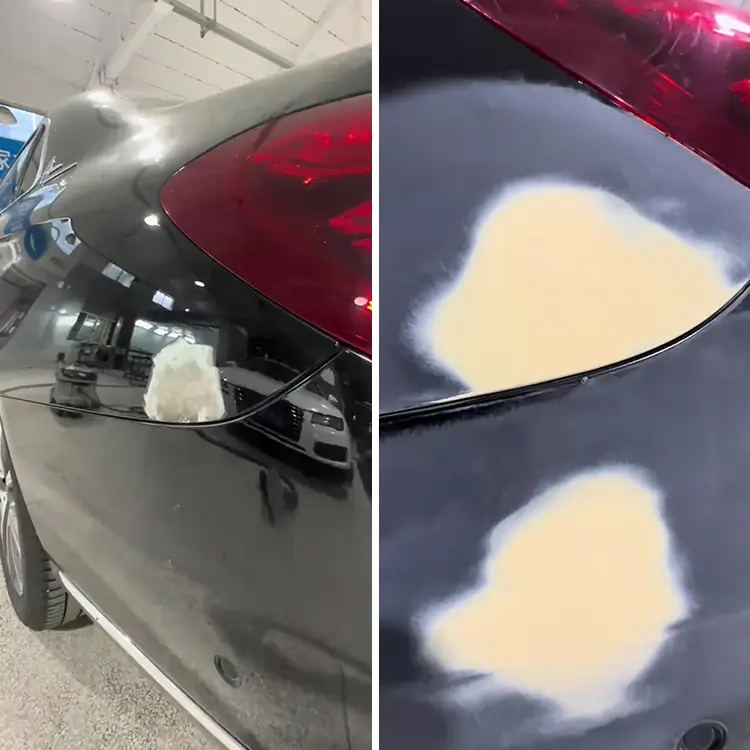
How to Clean and Prep Your Car Paint for Optimal Results
Whether you're getting ready to apply a fresh coat of paint to your car, touch up existing paint, or simply maintain its appearance, cleaning and preparing the surface is crucial. Proper preparation ensures that the paint adheres correctly, provides long-lasting protection, and gives your car that sleek, polished look. This guide will take you through the step-by-step process of how to clean and prep your car paint for optimal results.
Step 1: Gathering the Right Tools and Products
Preparation is key, and having the right tools and cleaning agents is the first step. Here’s what you’ll need:
1. Car-specific soap or cleaner: Avoid household detergents, as they can strip off the protective layers on your paint.
2. Microfiber cloths and towels: These are gentle on the paint and effective for cleaning and drying.
3. Clay bar: To remove embedded contaminants like sap, brake dust, and industrial fallout.
4. Polish or rubbing compound: To remove minor scratches and swirls, providing a smooth base.
5. Masking tape: To protect sensitive areas such as trim and rubber seals.
6. Degreaser: To eliminate oils and grease from the surface.
7. Sandpaper (various grits): For removing old paint or smoothing imperfections.
Step 2: Washing the Car Thoroughly
Before any major prep work, the car must be clean. Here’s how to ensure a thorough wash:
1. Choose a shaded area: Direct sunlight can cause soap and water to dry too quickly, leaving residue on the surface.
2. Rinse the car: Start by rinsing off loose dirt and debris with water, using a hose or pressure washer. This prevents scratching during the washing process.
3. Use two buckets: One for soapy water and one for rinsing. This prevents dirt from getting back on the car.
4. Wash with car-specific soap: Begin washing from the top down, ensuring the dirtiest parts (often the lower sections) are cleaned last.
5. Dry with a microfiber towel: Once washed, dry the car immediately to prevent water spots.
Step 3: Decontaminating the Paint
After the initial wash, you need to remove deeper contaminants that regular washing can't get rid of. A clay bar treatment is ideal for this.
1. Use a clay bar kit: This typically includes a lubricant to glide the clay over the paint without scratching.
2. Work in small sections: Spray the lubricant on a small area and gently rub the clay bar across the surface until it feels smooth. Fold the clay frequently to expose a clean surface.
3. Focus on problem areas: Pay extra attention to areas that are heavily contaminated, such as the lower sections and rear of the car, which may have more tar and road grime.
Step 4: Inspect for Imperfections
Once the surface is decontaminated, inspect the paint closely for imperfections like scratches, swirl marks, or oxidation.
1. Use a good light source: Proper lighting helps to see imperfections that might be hidden in natural light.
2. Mark problematic areas: Using masking tape or sticky notes, mark spots that need attention.
Step 5: Light Sanding (If Needed)
If the paint has noticeable imperfections, you might need to lightly sand the surface to smooth it out. This step is crucial for older cars with visible paint damage.
1. Choose the right sandpaper: Start with 1000-grit or finer for minor imperfections and move to finer grits (like 2000 or 3000) for finishing.
2. Wet sand the surface: Always wet the surface and sandpaper to prevent gouging the paint.
3. Work in circular motions: Apply even pressure and make sure to blend the sanded area with the surrounding paint.
Step 6: Applying a Rubbing Compound or Polish
Once sanding is complete, it’s time to polish the surface. This step removes any fine scratches and restores the smoothness of the paint.
1. Use a rubbing compound: For deeper scratches and imperfections, apply the compound with a microfiber cloth or a machine polisher.
2. Polish the surface: Once the surface is free from deeper imperfections, apply a fine polish to restore shine. Use a soft microfiber towel to buff the surface until it’s smooth and glossy.
Step 7: Masking Off Areas That Don’t Need Paint
Before applying any paint, it’s important to mask off areas that don’t require paint.
1. Use high-quality masking tape: Protect trim, rubber seals, and any other areas that shouldn’t come into contact with paint or primer.
2. Cover large sections: Use plastic sheeting or paper to cover larger areas, such as windows and doors, to prevent overspray.
Step 8: Cleaning and Degreasing the Surface
A clean surface is essential for paint adhesion, so once all imperfections have been addressed, clean the surface once again.
1. Use a degreaser: Apply a paint-safe degreaser to remove any oils, waxes, or residues left from polishing.
2. Wipe down the surface: Use a clean microfiber cloth to ensure the surface is completely dry and free of contaminants.
Step 9: Priming the Surface (If Necessary)
If you’re repainting or touching up large areas, applying a primer will ensure a smooth finish and better paint adhesion.
1. Choose the right primer: Depending on the material of your car’s body (metal, plastic, etc.), select a compatible primer.
2. Apply in thin coats: Multiple thin coats ensure better coverage and prevent runs or sags.
3. Allow the primer to dry fully: Follow the manufacturer’s instructions for drying time before moving on to painting.
Step 10: Painting Your Car
With the surface properly prepped, the final step is painting.
1. Apply multiple coats: Just like primer, apply the paint in several thin layers for even coverage.
2. Allow drying time between coats: Follow the paint manufacturer’s instructions for drying times to avoid smudging or uneven finishes.
Conclusion: Importance of Proper Prep Work
Taking the time to clean and properly prep your car’s surface ensures that the paint adheres well, provides long-lasting protection, and enhances the overall appearance of your vehicle. Skipping steps or rushing through the preparation process can result in poor adhesion, bubbling, or peeling of the paint in the long run.
If you're interested in testing the high-quality paints and primers from SYBON, we encourage you to request a sample for testing. Our products are designed for superior adhesion, durability, and finish. If you're an importer, paint shop owner, or auto repair center manager interested in becoming a distributor, please email us via our website. We will get back to you within 24 hours to discuss potential opportunities.
Source of this article:https://www.supersybon.com
Get to know us through more channels:

